Different lettering styles and how to choose the right one
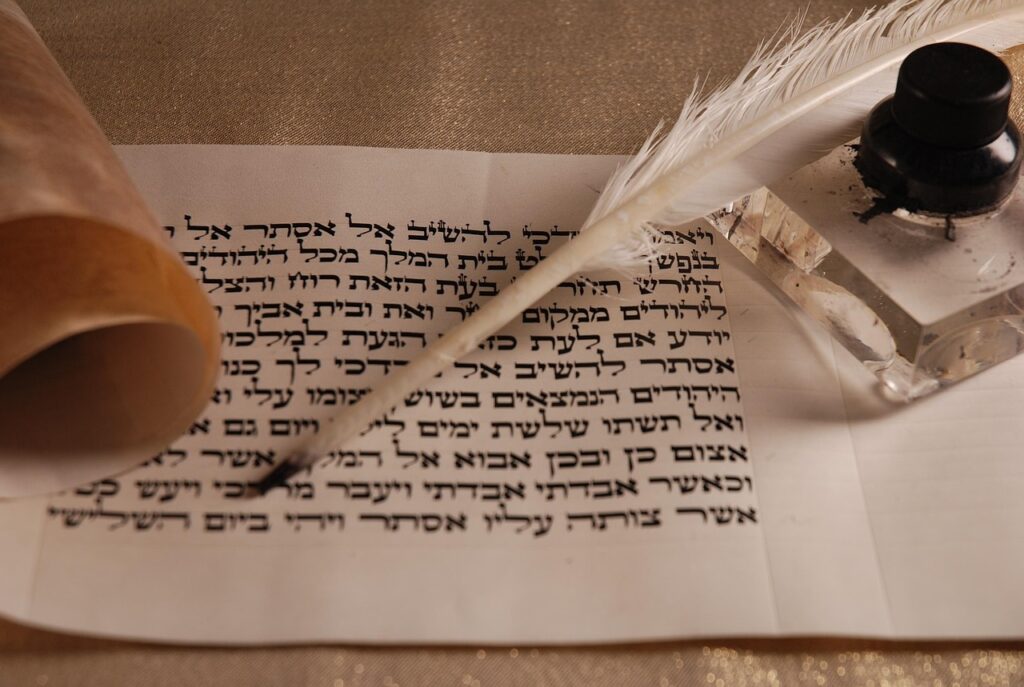
Understanding different lettering styles
Different lettering styles do more than decorate a page. They influence readability, tone, mood, and how quickly a reader understands the finished piece. A bold block style can make a handmade sign clear from across a room, while a flowing script can make a greeting card feel more personal and refined. The best choice depends on the message, the surface, the tools, and how much information the reader needs to absorb.
For stationery, journaling, classroom displays, envelopes, labels, planners, and handmade posters, the usual goal is to balance personality with legibility. This guide explains the main categories of lettering, how they differ, where each style works best, and what beginners should practice first. For more ideas in this topic area, visit the Lettering section.

Lettering, calligraphy, and typography are related but not the same
Before comparing styles, it helps to separate three terms that are often used together. Lettering is the art of drawing letters. Each word or phrase is usually created as a custom composition, so spacing, shape, weight, and decoration can be adjusted by hand. Calligraphy is writing letters with controlled strokes, often using a pen, brush, or nib that naturally creates thick and thin lines. Typography is the arrangement and use of typefaces, usually in print or digital design.
These areas often overlap. A hand-lettered quote may imitate calligraphy. A digital poster may use typography inspired by vintage sign painting. A bullet journal heading may combine drawn block letters with script accents. Knowing the difference makes it easier to choose the right tools and practice method. If you want expressive one-of-a-kind headings, focus on lettering. If you want graceful repeated strokes, study calligraphy. If you are setting longer passages of text, typography principles such as spacing, hierarchy, and alignment become more important.
Common lettering styles and what they communicate
Most creative lettering projects use one main style, then add small accents for contrast. The categories below are practical rather than rigid. Many finished pieces blend two or more styles.
Serif lettering
Serif lettering includes small finishing strokes at the ends of letterforms. These details can make words feel classic, literary, formal, or editorial. Serif styles work well for book-inspired quotes, certificates, invitations, labels, and projects that need a traditional look. In hand lettering, serifs also provide useful places to add shadows, fill patterns, or decorative terminals.
The main challenge is consistency. If the serifs vary too much in size or angle, the design can look accidental rather than intentional. Beginners can start with simple slab serifs, where the finishing strokes are sturdy and rectangular. They are easier to draw than delicate bracketed serifs and still create a strong visual identity.
Sans serif lettering
Sans serif lettering removes the finishing strokes and relies on clean shapes. It feels modern, direct, minimal, and practical. This style is useful for planner headings, classroom materials, product labels, simple signs, and any project where quick reading matters. Because the forms are so clean, small spacing mistakes become more noticeable, so alignment needs attention.
A monoline sans serif, drawn with the same stroke width throughout, is one of the most beginner-friendly lettering styles. It teaches proportion, spacing, and rhythm without requiring advanced pen pressure control. Once the basic form is stable, you can add outlines, drop shadows, highlights, or color blocks.
Script lettering
Script lettering imitates cursive writing or formal calligraphy. It is often used for wedding stationery, greeting cards, name tags, envelopes, quote art, and packaging concepts. Script can feel romantic, personal, refined, playful, or luxurious depending on slant, spacing, stroke contrast, and decoration.
Legibility is the main limitation. Highly flourished capitals and tight connecting strokes may look attractive but become hard to read, especially at small sizes. A practical approach is to use script for one or two important words, then pair it with a simple serif or sans serif style for the rest of the message.
Brush lettering
Brush lettering uses pressure changes to create thick downstrokes and thin upstrokes. It can be written with brush pens, paintbrushes, water brushes, or flexible digital brushes. The result often feels energetic, handmade, and expressive. Brush lettering is common in modern cards, journal covers, posters, social media graphics, and seasonal decorations.
This style depends heavily on tool control. Pressing too hard on upstrokes, turning the wrist instead of moving the arm, or rushing curves can make the letters uneven. Beginners usually improve faster by practicing basic strokes before writing full alphabets. Thin upstrokes, thick downstrokes, smooth ovals, and controlled entry strokes are the foundation.
Blackletter and gothic lettering
Blackletter, sometimes called gothic lettering in casual use, has dense vertical strokes, sharp angles, and historic character. It can feel dramatic, formal, medieval, musical, or ceremonial. It is often seen in certificates, logos, album art, tattoo-inspired lettering, and decorative headings.
This style has a strong personality, but it should be used carefully. Long sentences in blackletter are difficult to read, especially for casual audiences. It works best as a short title, initial, monogram, or display element. Strong contrast with a clean supporting style keeps the composition readable.
Block and dimensional lettering
Block lettering is built from bold, simple forms. It is popular for posters, banners, classroom boards, sports signs, craft labels, and high-impact journal headings. Dimensional lettering adds depth through shadows, inline details, outlines, bevels, or perspective.
This is one of the most useful categories for stationery and handmade displays because it remains readable from a distance. The main skill is construction. Artists often sketch guidelines first, block in the letter skeleton, add weight, then apply shadow consistently from one imagined light direction.
Bubble lettering
Bubble lettering uses rounded, inflated shapes. It feels playful, casual, youthful, and friendly. It works well for school projects, party signs, children’s labels, scrapbook pages, and colorful journal titles. Bubble letters are forgiving because the forms do not require perfectly straight lines.
Rounded styles can become crowded if the counters, the open spaces inside letters such as a, e, o, and p, are too small. Leaving generous interior space and consistent gaps between letters keeps the design cheerful rather than messy.
Vintage and retro lettering
Vintage lettering draws inspiration from old signs, packaging, posters, badges, and advertisements. It may include decorative serifs, curved baselines, inline strokes, banners, ornaments, or textured shading. Retro lettering can suggest nostalgia, craft, warmth, or handmade quality.
The risk is over-decoration. A vintage layout usually needs a strong structure underneath the details. Start with a clear hierarchy: one dominant word, one supporting phrase, and one small detail such as a date, location, or decorative line. Add texture only after the words are readable. See also: Gift Guide.
How to choose a lettering style for a real project
The right style is the one that supports the message. A beautiful alphabet can still be the wrong choice if it slows reading or sends the wrong emotional signal. Use these practical checks before starting a final piece.
- Purpose: Is the piece decorative, informational, celebratory, instructional, or personal?
- Viewing distance: A wall poster needs bolder lettering than a journal page or envelope.
- Word count: Complex styles work best for short phrases. Longer text needs simpler forms.
- Surface: Smooth paper supports fine lines, while textured paper, chalkboards, fabric, or cardboard may require heavier strokes.
- Tool: A brush pen favors script and expressive strokes. A fineliner favors monoline letters, serif details, and pattern fills.
- Tone: Formal messages suit serif, script, or blackletter accents. Casual messages suit bubble, brush, or rounded sans serif styles.
A useful rule is to choose one expressive style and one quiet style. For example, use brush script for the main word and simple block lettering for the supporting words. This contrast makes the design easier to read and gives the eye a clear path through the composition.
Comparison table for practical use
| Style | Best use | Visual tone | Beginner difficulty | Main watchout |
|---|---|---|---|---|
| Serif lettering | Invitations, labels, quote art | Classic and structured | Medium | Uneven serif size |
| Sans serif lettering | Headings, signs, planners | Clean and modern | Easy | Poor spacing |
| Script lettering | Cards, envelopes, names | Elegant and personal | Medium to hard | Low readability |
| Brush lettering | Posters, journals, seasonal art | Expressive and lively | Medium | Inconsistent pressure |
| Blackletter | Short titles, certificates, monograms | Dramatic and historic | Hard | Dense text |
| Block lettering | Banners, classroom boards, signs | Bold and clear | Easy to medium | Inconsistent shadow angle |
| Bubble lettering | School projects, party signs, scrapbook pages | Playful and friendly | Easy | Overcrowded counters |
| Vintage lettering | Badges, packaging-inspired art, posters | Nostalgic and decorative | Medium to hard | Too many ornaments |
Simple ways to combine lettering styles
Combining styles is where many lettering projects become more visually interesting. The key is contrast with control. If every word is decorative, nothing stands out. If the styles are too similar, the design may look accidental. A strong combination usually contrasts at least one quality: weight, width, texture, slant, or decoration.
Pair script with simple capitals
This is a reliable structure for greeting cards and quotes. Use script for emotional or important words such as love, home, joy, or thanks. Use small sans serif capitals for the supporting phrase. The script adds personality while the capitals keep the message readable.
Pair block letters with shadows or inline details
Block letters look more finished when you add one consistent effect. A drop shadow gives depth. An inline stroke creates a sign-painting feel. A light highlight can make marker lettering look glossy. Avoid adding all effects at once unless the design is intentionally bold and decorative.
Use hierarchy before decoration
Hierarchy means deciding what the reader should see first, second, and third. Make the most important word largest or heaviest. Keep secondary words smaller, simpler, or lighter. Once the hierarchy is clear, add flourishes, ornaments, borders, color, or texture.
Tools and materials that influence the final style
Lettering style is shaped by tools as much as by alphabet choice. A pencil is best for planning because it allows correction. Fineliners are useful for monoline lettering, outlines, small serif details, and decorative fills. Brush pens support pressure-based strokes and expressive script. Chisel-tip markers are helpful for block letters, poster headings, and simple gothic-inspired forms. Gel pens, metallic markers, and colored pencils can add highlights and texture after the main shapes are complete.
Paper matters too. Smooth marker paper helps brush pens glide and can reduce fraying. Heavier cardstock is better for finished cards and signs. Textured paper may look beautiful, but it can interrupt fine lines and wear down soft brush tips. For practice, inexpensive smooth paper is often more useful than premium decorative sheets because it encourages repetition without hesitation.
Digital tools can also support lettering practice. A tablet makes it easy to test layouts, undo mistakes, and compare versions. The same fundamentals still apply: clear structure, consistent spacing, controlled contrast, and readable composition.
Common mistakes when practicing lettering styles
Many beginners try to learn too many alphabets at once. A more useful method is to practice one simple style until spacing and proportions feel natural, then add variation. The most common mistakes are easy to identify and correct.
- Skipping guidelines: Baselines, cap height, x-height, and slant lines help letters look intentional.
- Decorating too early: Shadows and flourishes cannot fix weak letter structure.
- Ignoring spacing: Even beautiful letters can look awkward if the gaps between them are uneven.
- Using complex styles for long text: Display lettering works best when the reader can understand it quickly.
- Pressing too hard: Heavy pressure can damage brush tips and make strokes harder to control.
- Copying effects without a light source: Shadows need a consistent direction to look believable.
A short practice session can still be effective. Choose one word, draw it in a simple sans serif style, then redraw it as serif, script, block, and bubble lettering. This exercise shows how the same message changes tone when the letterform changes.
Frequently asked questions
What lettering style should beginners learn first?
A simple monoline sans serif or basic block lettering style is usually the easiest starting point. These styles teach spacing, proportion, and alignment without requiring advanced pressure control. Once those basics are comfortable, brush lettering and script become easier to learn.
How many lettering styles should one design use?
Most small projects work best with two styles: one decorative style for emphasis and one simple style for support. Larger posters may use three, but each style should have a clear role. Too many competing alphabets can make the design feel crowded.
Is brush lettering the same as calligraphy?
Brush lettering and calligraphy overlap, but they are not identical. Brush lettering often uses calligraphic pressure changes, while calligraphy emphasizes written strokes and consistent technique. Lettering may also involve drawing, refining, and illustrating the letters after the first sketch.
Which lettering styles are best for journals and planners?
Sans serif, block, bubble, and simple brush lettering are practical for journals and planners because they are readable and adaptable. Script can work well for monthly titles or decorative accents, but it may be less useful for small notes or repeated headings.
How can lettering look more polished?
Use guidelines, plan hierarchy before adding decoration, keep spacing consistent, and limit effects to one or two choices. A clean pencil sketch, careful outlines, and controlled contrast usually make a bigger difference than adding more flourishes.
Final thoughts
Exploring different lettering styles is a practical way to make everyday paper projects more expressive. Serif lettering adds tradition, sans serif lettering adds clarity, script adds elegance, brush lettering adds movement, and block lettering adds impact. The strongest results come from matching the style to the message rather than choosing decoration first.
Start with a readable structure, decide which word deserves emphasis, and choose tools that support the look you want. With consistent practice, the same phrase can become formal, playful, bold, nostalgic, or personal simply by changing the way the letters are drawn.