A en lettering ideas for drawing the letter A by hand

What people mean by a en lettering
If you searched for “a en lettering,” you are probably looking for ways to draw the letter A in a hand-lettered style. In English, this is more commonly described as “letter A lettering,” “hand lettering A,” or “how to draw a lettering A.” The point is not to type a font. It is to build the letter as a small piece of drawn design, with control over the shape, stroke weight, spacing, crossbar, shadows, flourishes, and decorative details.
This guide focuses on practical lettering for stationery, notebook pages, greeting cards, labels, posters, journal headers, and classroom or craft layouts. For more lettering topics and related guides, visit the Lettering section.
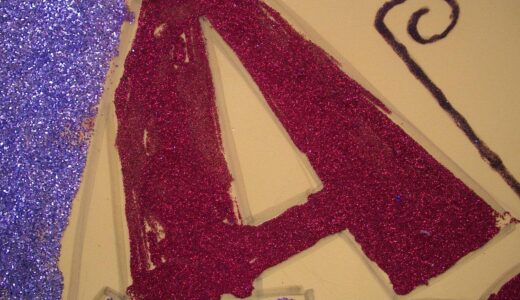
The letter A is useful for practice because its structure is easy to see: two main sides, a meeting point or arch, interior space, and often a crossbar. Small changes to those parts can shift the mood quickly, from clean and modern to playful, vintage, elegant, or bold.
Start with the structure before adding style
A strong lettering A starts with simple construction. Before adding decorative effects, draw a basic skeleton of the letter. For an uppercase A, that usually means two angled stems and a crossbar. For a lowercase a, decide whether you want a single-story form, similar to casual handwriting, or a double-story form, which is common in print and many text typefaces.
Beginners often move into shadows and flourishes too soon. Decoration can make a letter more interesting, but it will not fix weak proportions. First check whether the letter stands evenly, whether the inside counter is readable, and whether the crossbar sits at a comfortable height. If the crossbar is too high, the letter can feel unstable. If it is too low, the upper part may look heavy.
Use light pencil lines to mark a baseline, cap height, and center area. These guide lines do not need to be complicated. Even two horizontal lines can help keep the A consistent with nearby letters. If you plan to letter a full word, sketch the whole word lightly before finishing the A. A beautiful single letter can still look awkward if it is too wide, too narrow, or too decorative compared with the rest of the word.
Seven practical styles for drawing the letter A
There are many ways to design an A. For everyday lettering, it helps to choose the structure and finish before you start sketching. The table below compares common options.
| Style | Visual effect | Good for | Beginner tip |
|---|---|---|---|
| Monoline A | Clean, simple, even strokes | Notes, labels, minimalist layouts | Use the same stroke width throughout before adding decoration. |
| Block A | Bold and readable | Posters, classroom signs, covers | Draw the outside shape first, then refine the inner triangle or counter. |
| Serif A | Classic and structured | Headings, formal cards, vintage layouts | Keep the serifs consistent in length and angle. |
| Script A | Elegant, flowing, personal | Invitations, names, journal titles | Plan the entry and exit strokes so the A can connect to other letters. |
| Brush A | Dynamic thick-and-thin contrast | Modern calligraphy, quotes, gift tags | Use lighter pressure on upstrokes and heavier pressure on downstrokes. |
| Shadow A | Dimensional and playful | Decorative titles, bullet journals, cards | Choose one light direction and place every shadow on the opposite side. |
| Floral or patterned A | Decorative and expressive | Scrapbooks, handmade stationery, seasonal pages | Keep the main letter readable before filling it with patterns. |
Monoline and block A
Monoline lettering uses a consistent stroke width. It is one of the easiest styles to practice because the shape matters more than pen pressure. Draw a simple A with a pencil, then trace it with a fine liner, gel pen, or marker. Once the shape is clean, you can add dots, stripes, small stars, or a second outline.
Block lettering gives the A more weight. Start with a large triangular or arched outline, then create the inner counter. The key is balance. If the left and right sides are too uneven, the letter may look as if it is leaning by accident. A block A works well for school projects, craft titles, and signs because it remains readable from a distance.
Serif and vintage A
A serif A has small finishing strokes at the ends of the main stems and sometimes at the crossbar. These details can make the letter feel more traditional or editorial. Keep the serifs controlled. If one serif is long, curved, and heavy while another is short and straight, the style can look accidental rather than intentional.
For a vintage look, combine serifs with inline details, narrow shadows, or a lightly arched crossbar. Avoid adding every effect at once. A serif, an inline, a drop shadow, texture, and flourishes can compete with one another unless the composition is carefully planned.
Script and brush A
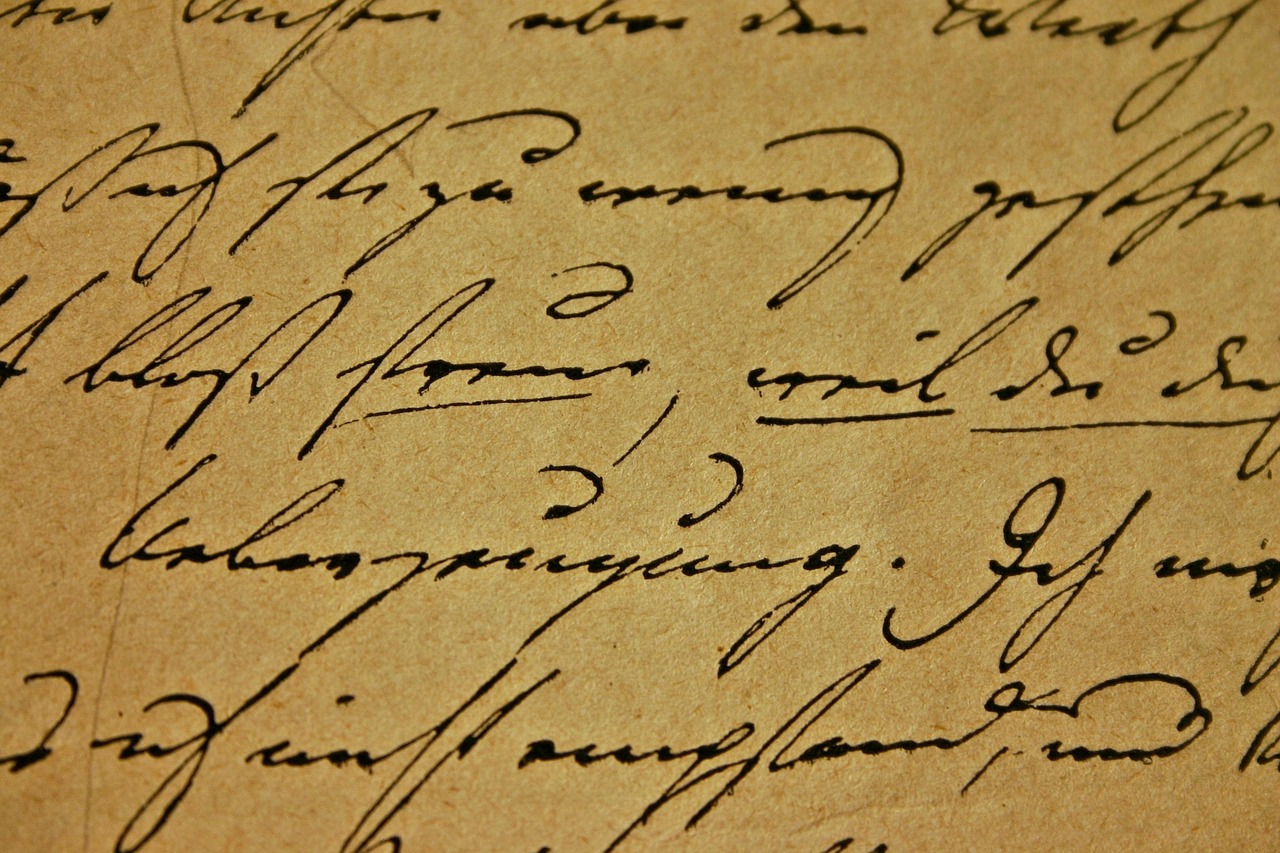
Script A styles are based on movement. Instead of thinking only about the finished outline, consider how the stroke travels. A capital script A may begin with a loop, rise into a tall stroke, curve down, and exit toward the next letter. A lowercase script a often starts with an oval shape and finishes with a connecting stroke.
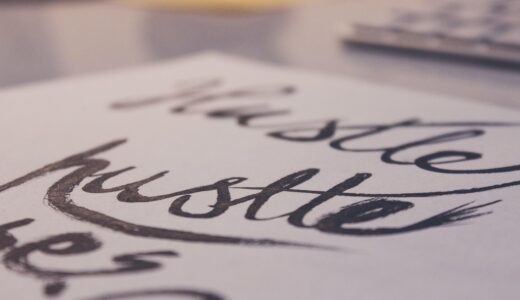
Brush lettering adds contrast through pressure. A flexible brush pen creates thinner lines when you move upward with light pressure and thicker lines when you move downward with more pressure. If you are using a normal pen, you can imitate the look with faux calligraphy: write the letter in monoline first, then thicken the downstroke areas and fill them in.
How to draw a lettering A step by step
A reliable workflow is sketch, refine, ink, and finish. This method works for most styles, whether you are making a small journal header or a larger poster letter.
- Choose the role of the A. Decide whether it is a standalone decorative letter, the first letter of a name, or part of a full word.
- Draw guide lines. Mark the baseline and top height lightly in pencil. Add a center guide if symmetry matters.
- Sketch the skeleton. For uppercase A, draw the basic stems and crossbar. For lowercase a, sketch the oval and stem or the double-story structure.
- Build the body. Add thickness around the skeleton, keeping the weight consistent with the style you selected.
- Check readability. Step back and ask whether the letter still reads as A before adding decoration.
- Add style details. Use shadows, serifs, loops, flourishes, highlights, dots, or patterns only where they support the design.
- Ink carefully. Trace the final lines after the pencil sketch feels balanced. Let the ink dry before erasing pencil marks.
- Review spacing. If the A belongs to a word, check the gaps between neighboring letters, especially after diagonal strokes.
This sequence may feel slow at first, but it saves time. Many messy lettering attempts come from inking too early. Pencil planning gives you room to adjust width, tilt, and decoration before committing to the final page.
Choosing pens, paper, and practice layouts
The right materials make practice easier, but you do not need expensive tools to start. A pencil, eraser, ruler, and smooth paper are enough for sketching. For inking, fine liners are useful for monoline letters, while brush pens help with script and modern calligraphy styles. Broad-tip markers can create strong block letters and filled shapes.
Paper matters because rough surfaces can fray brush tips and make lines look uneven. Smooth marker paper, practice pads, or good notebook paper can help pens move more predictably. If you are using alcohol markers or heavy ink, place a spare sheet underneath to reduce bleed-through. See also: Gift Guide.
For practice, divide a page into small boxes. Draw one A per box and change only one variable at a time. For example, keep the same block shape but test different crossbar heights. Then keep the crossbar the same and test shadows. This controlled approach makes it easier to see what actually changes the look of the letter.
- Use pencil first when testing a new shape.
- Practice large letters before shrinking them.
- Keep sample alphabets nearby for consistency, but do not trace every design without understanding its structure.
- Use the same paper and pen for a practice set so you can compare results fairly.
- Save early pages to track progress instead of judging one attempt in isolation.
Common mistakes that make the letter A look unbalanced
The letter A looks simple, but its diagonal structure makes balance important. One common mistake is placing the crossbar without considering the full shape. The crossbar should support the letter visually, not cut it into two awkward sections. Another mistake is making one stem much thicker than the other when the style is meant to be symmetrical.
Spacing is another issue. Because uppercase A has diagonal sides, it creates unusual gaps beside straight letters. In a word like “art,” the space after A may look larger than the space between two vertical letters. This does not always mean the spacing is wrong, but it should be checked by eye rather than measured mechanically.
Over-decoration can also reduce readability. If you add loops, flowers, shadows, stripes, and highlights to the same small letter, the A can become a texture instead of a letter. A practical approach is to finish the base letter first and then choose one main decorative idea. If the letter still feels empty, add a smaller supporting detail.
Finally, avoid mixing too many style languages in one word. A heavy block A followed by delicate script letters can work as a deliberate contrast, but it should look intentional. If every letter uses a different style, the design may feel more like a sampler than a finished piece.
A simple practice plan for better results
Instead of collecting dozens of random examples, use a short practice plan. On the first day, draw ten monoline uppercase A shapes and focus only on proportion. On the second day, turn five of those shapes into block letters. On the third day, add shadows to three versions, keeping the light direction consistent. On the fourth day, practice lowercase a in both single-story and script forms. On the fifth day, combine the A with short words such as “art,” “adore,” “autumn,” or a name.
This plan builds from structure to style. It also helps you notice which version fits your natural hand movement. Some people draw clean block letters more easily; others prefer script movement. Neither is more correct. The useful style is the one that stays readable and fits the project.
For a finished stationery piece, choose one polished A and apply it to a real layout: a notebook title, gift tag, envelope initial, bookmark, or handmade card. Practical use can reveal issues that isolated practice may hide, such as whether the letter is too detailed for a small space or too pale for colored paper.
Frequently asked questions
Is a en lettering the same as calligraphy?
Not exactly. In common craft usage, lettering usually means drawing or designing letters, while calligraphy focuses more on writing letters with controlled strokes. The two overlap, especially when brush pens are used, but lettering gives you more freedom to sketch, erase, redraw, and decorate the letter shape.
Should I practice uppercase A or lowercase a first?
Start with uppercase A if you want clear structure and bold styles. Start with lowercase a if your goal is brush lettering, names, or connected script. For balanced progress, practice both because they teach different skills.
What is the easiest A style for beginners?
A monoline uppercase A is usually the most approachable because it does not require pressure control. After that, a block A is a good next step because you can practice width, spacing, and simple decoration.
How can I make my lettering A look more creative without losing readability?
Change one feature at a time. Try a different crossbar, add a shadow, use a small inline, or decorate the counter area. Keep the main silhouette recognizable so the viewer reads the letter before noticing the details.
Can I use normal pens for brush-style lettering?
Yes. Use faux calligraphy: write the A with a regular pen, identify the downstroke areas, draw a second line beside those strokes, and fill the added space. This creates a brush-like thick-and-thin effect without a flexible brush pen.